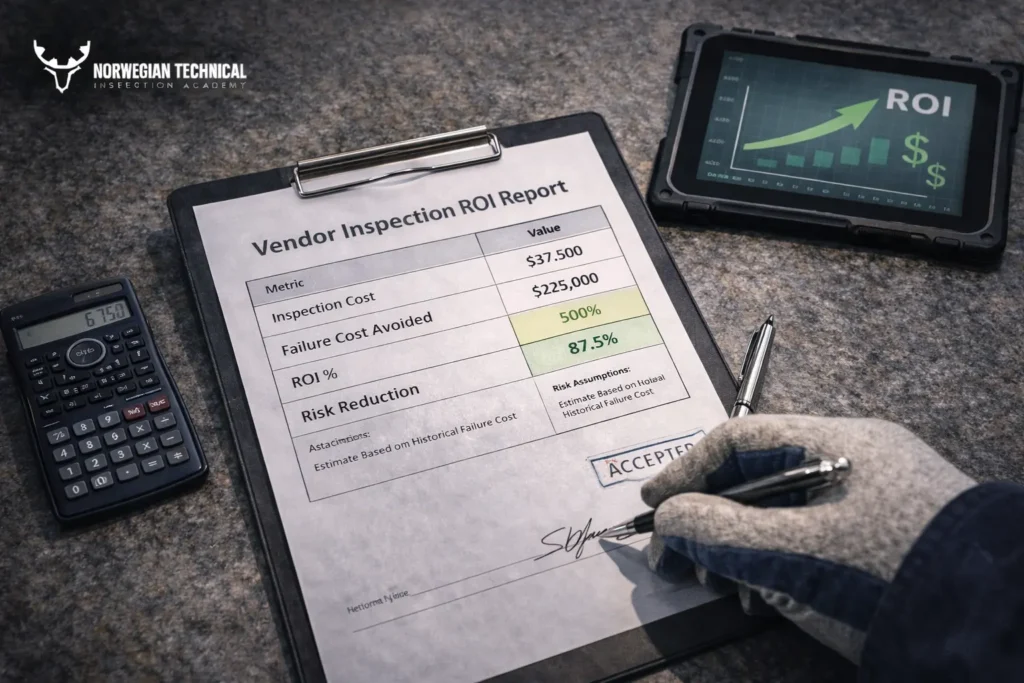
A valve inspection report is the formal record of what you checked, how you tested, and what you found during a vendor shop visit or FAT for valves. It is more than a test sheet — it combines:
A good valve inspection report is factual, structured, and easy to read. It lets engineering, QA/QC, procurement and operations quickly see whether valves are acceptable, accepted with reservations, or rejected — and why.
In vendor inspection for oil & gas and energy projects, a typical workflow looks like this:
Purchase order → ITP/QCP → shop visits and FAT → inspection reports and NCRs → final dossier and handover
The valve inspection report is usually produced after a shop visit or FAT focused on valves. It:
If you’re new to the overall process, it helps to first understand the wider framework described in What Is Vendor Inspection? Roles & Responsibilities.
Many valve manufacturers already have their own inspection & test report forms. These internal forms typically record:
These factory forms are important, but they are not the whole story. A professional valve inspection report from a vendor inspector should:
Think of your valve inspection report as the front page of a small dossier: it tells the story, and the attachments provide the raw data.
For the overall reporting structure (how valve reports fit into IRs, NCRs and final dossiers), see Vendor Inspection Reporting: IR/NCR/Final Dossier.
You can adapt the structure to your company’s templates, but a solid valve inspection report normally includes the following sections.
At the top of the report, capture:
The header makes clear which visit this report belongs to, which ITP items were targeted, and who is responsible for the findings. You can align your header fields with your existing ITP structure using Vendor Inspection ITP Template (Excel) + How to Use.
Next, describe what you actually inspected. A simple table works well:
Under the table, summarise the scope of the visit, e.g.:
“This inspection covered visual, dimensional and pressure testing of 10 pcs 6” Class 300 RF gate valves for Project X, as per ITP VI-023 Rev.1, prior to shipment.”
If not all valves in the PO were inspected (for example, due to sampling), briefly explain the logic. For more structured ways to describe sampling in your reports, you can refer to Receiving Inspection Sampling Plans (AQL).
A valve inspection report should always make it clear which documents and standards you used as the basis for acceptance. This is essential for traceability and resolving disputes.
Typical references include:
For pressure and seat testing, you will often reference valve testing standards such as API 598 and ISO 5208 (and sometimes standards like ASME B16.34 or EN 12266, depending on the project).
If you want a reminder of how these valve testing standards differ and what acceptance criteria they use, see API 598 vs ISO 5208: Valve Testing Acceptance.
Rather than copy raw checklist data into the report, provide a clear summary and refer to the detailed checklists as attachments.
A simple structure is:
For the actual step-by-step on the shop floor, you can base your work on Valve Inspection Checklist (PDF): Visual, Dimensional, Testing and Visual & Dimensional Checks: Step-by-Step.
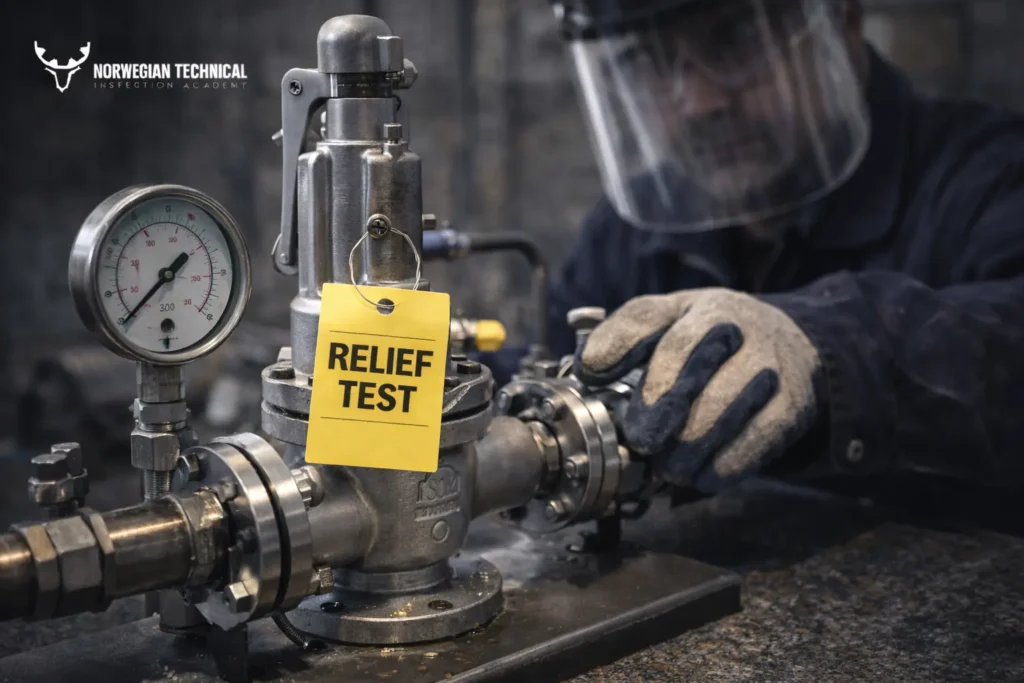
This section collects all the hydrostatic, pneumatic, seat and functional tests performed on the valves.
A concise way to present it is with a table that includes:
Below the table, add short comments if needed, for example:
“All hydrostatic shell tests were performed at 1.5 × rated pressure with water. No visible leakage or pressure drop was observed during the specified hold time.”
For the underlying test procedures and acceptance logic, refer to Hydrostatic vs Seat Leak Tests: Procedures & Acceptance and API 598 vs ISO 5208: Valve Testing Acceptance when preparing your report.
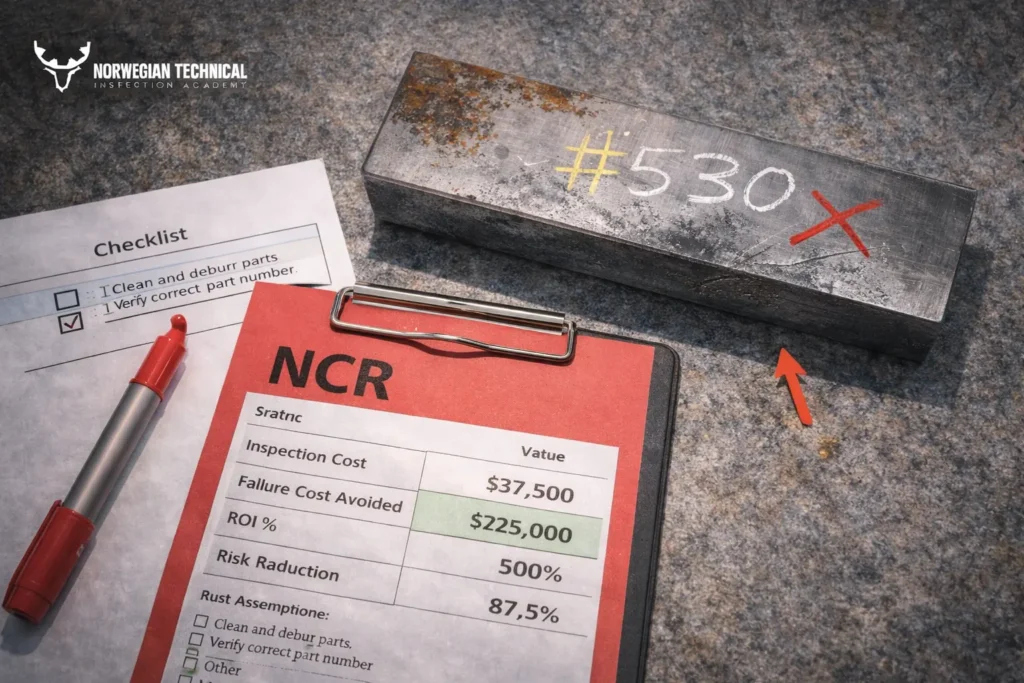
Every valve inspection report should have a dedicated section for nonconformities and punch list items. Use a table with columns such as:
Keep the wording factual and neutral. For example:
“Seat leak test on Valve XV-210 showed continuous visible leakage at downstream flange when tested at rated pressure. Specification requires zero visible leakage for soft-seated valves in this service.”
“Valve FV-117 raised face height measured 9.0 mm vs 2.0–3.2 mm required by drawing DR-V-013. Raised face is out of tolerance.”
The detailed process for raising and managing NCRs is described in Vendor Inspection Reporting. For inspiration on typical vendor issues and corrective actions, you can also refer to Common Vendor Nonconformities & Fixes.
To avoid overloading the main text, list your attachments and refer to them from the relevant sections. Typical attachments include:
In the main report, you can write for example:
“Detailed test readings are attached in Annex A: Valve Test Reports.”
“Material certificates are attached in Annex B: MTCs for Body and Trim Components.”
The report should end with:
Good reports start before you enter the workshop.
Before the visit:
For aligning your report structure with your planned inspection activities, use Vendor Inspection ITP Template + How to Use together with Build an ITP & QCP for Vendor Surveillance. If you want to save time on formatting, you can also adapt forms from Master Inspection Templates Pack (ZIP): ITP, Checklists, Forms.
On site, everything you do should support writing a clear and factual report later.
During the visit:
For on-site structure, follow Valve Inspection Checklist (PDF): Visual, Dimensional, Testing and Visual & Dimensional Checks: Step-by-Step as practical guides.
Once you’re back at your desk, you can turn your notes into a valve inspection report by:
Below is a simplified example of how a valve inspection report could look in practice. You can adapt the wording and layout to your own templates and logos.
Project: North Field Expansion — Onshore Gas Processing
Purchase Order: PO-450123
Vendor: ABC Valves Co., Main Plant — Milan, Italy
Inspection Type: Final inspection & FAT for valves
Inspection Date(s): 06–07 March 2026
Inspector: J. Smith (Third-Party Inspector)
ITP Reference: ITP-VLV-023 Rev.1
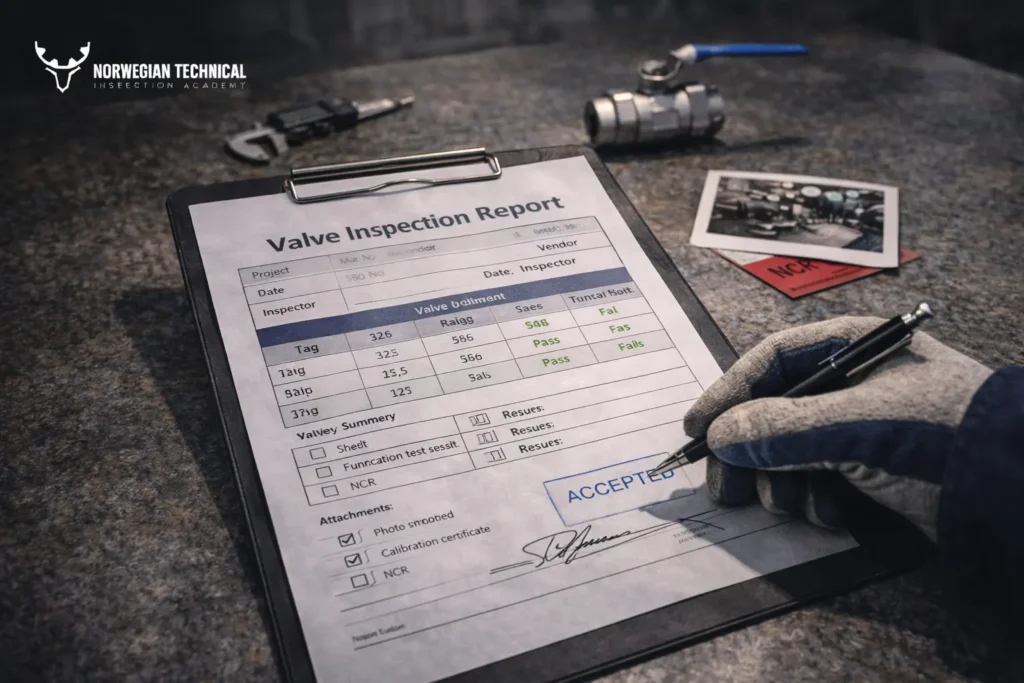
Table 1 – Valves Covered by This Report
| Tag | Qty | Type | Size | Class | End Conn. | Body Material | Trim Material | Operator | Leakage Class |
| XV-210 | 2 | Ball Valve | 6″ | 300 | RF | ASTM A216 WCB | 316 SS | Pneumatic Act. | VI |
| FV-117 | 4 | Gate Valve | 4″ | 600 | RF | ASTM A216 WCB | 13Cr | Handwheel | IV |
| HV-305A/B | 2 | Globe Valve | 2″ | 300 | RF | ASTM A105 | 316 SS | Handwheel | IV |
| PV-411 | 2 | Check Valve | 3″ | 300 | RF | ASTM A216 WCB | 13Cr | Swing | IV |
Visual & Dimensional Inspection Summary
Visual inspection was performed on 100% of the valves listed in Table 1. External condition, coating, markings and preservation were checked against project specification SPEC-M-VALVES-001 Rev.3 and approved datasheets. No coating damage or corrosion was observed. Nameplates and body castings showed correct tag numbers, pressure ratings and materials.
Dimensional checks were carried out on a sample of each valve type using calibrated vernier calipers and micrometers. Face-to-face dimensions, flange diameters and raised face heights were verified against drawings DR-VLV-004, DR-VLV-007 and DR-VLV-011. All measured dimensions were within specified tolerances, except for the raised face height on Valve FV-117-3, which is listed in the nonconformity table.
Pressure, Seat and Functional Testing Summary
Hydrostatic shell and seat leak tests were carried out on 100% of the valves in accordance with project specification SPEC-M-VALVES-001 and referenced valve testing standards. Tests were conducted in the vendor’s test bay using calibrated gauges and chart recorders.
For ball valves XV-210, shell tests were performed at 1.5 × rated pressure with water, followed by high-pressure and low-pressure seat leak tests. No visible leakage or pressure drop was observed. For gate and globe valves, shell tests and seat tests were performed as per the approved ITP. Check valves PV-411 were subjected to shell tests and backseat checks as applicable. No test failures were recorded.
Table 2 – Test Summary
| Tag Group | Test Type | Test Pressure | Medium | Duration | Acceptance Criteria | Result |
| XV-210 (2 pcs) | Shell, Seat (HP/LP) | 1.5 × rating | Water | 5–10 min | No visible leakage | Pass |
| FV-117 (4 pcs) | Shell, Seat | 1.5 × rating | Water | 5–10 min | No visible leakage | Pass |
| HV-305A/B (2 pcs) | Shell, Seat | 1.5 × rating | Water | 5–10 min | No visible leakage | Pass |
| PV-411 (2 pcs) | Shell, Backseat | 1.5 × rating | Water | 5–10 min | No visible leakage | Pass |
(In a real report you would give exact pressures and durations as per ITP and standards.)
Table 3 – Nonconformities and Punch List Items
| Item | Tag | Description | Requirement Reference | Severity | Disposition | NCR Ref. |
| NC-01 | FV-117-3 | Raised face height measured 9.0 mm vs 2.0–3.2 mm required by DR-VLV-007 Rev.2. Out of tolerance. | DR-VLV-007 Rev.2; SPEC-M-VALVES-001 | Minor | Vendor to re-machine RF and re-measure | – |
Conclusion
Except for nonconformity NC-01, all valves listed in Table 1 were inspected and tested in accordance with ITP-VLV-023 Rev.1, approved drawings, project specifications and applicable valve testing standards. Valves XV-210, HV-305A/B and PV-411 are accepted for shipment. Valve FV-117-3 is accepted after re-machining of the raised face and satisfactory re-measurement by the vendor’s QC, to be confirmed by updated dimensional report and photo evidence.
Signature blocks and a distribution list would follow this conclusion in a full report.
Even experienced inspectors sometimes make report-writing mistakes that reduce clarity and usefulness. Common issues include:
If you address these points, your valve inspection reports will be easier for others to understand — and easier to defend when questions arise months or years later.
Is the manufacturer’s valve test certificate the same as a valve inspection report?
No. The manufacturer’s test certificate or test sheet records the tests they performed and the results. A valve inspection report pulls together all checks and tests from your visit, links them to project requirements, summarises accept/reject decisions, and highlights nonconformities and NCRs.
How detailed should I be when writing valve test results?
Include enough detail so another engineer can understand what was tested, how and against which criteria. That means: test type, pressure, duration, medium, standard/spec reference, acceptance criteria and pass/fail. Put detailed readings and charts in attachments, referenced from the main report.
Which standards should I mention in a valve inspection report?
Mention any standards that define design, dimensions and testing for the valves in question (for example, design and face-to-face standards, and the specific valve testing standard required by the project). In many projects this includes API 598 or ISO 5208, plus the project’s own valve specification.
Should every nonconformity in a valve inspection report become an NCR?
Not necessarily. Minor issues that can be corrected immediately and have low risk may be tracked as punch list items only. However, issues affecting safety, integrity, compliance, or that repeat across multiple POs, should normally be escalated to a formal NCR according to your procedures.
How can I reuse my valve inspection report template across projects and vendors?
Keep the structure stable (header, valve list, references, summaries, nonconformities, attachments, signatures), but parameterise the details (project name, PO, ITP number, standards). Over time you can refine your template with lessons learned from different vendors and projects, while keeping the same fundamental sections to make reports comparable.
If you want to move beyond templates and practise valve inspection reporting on real-world cases, join our course Industrial Valve Inspection & Testing Training.
In this hands-on program, we walk through:
– live examples of valve FATs and vendor shop visits
– how to align inspection reports with API/ISO valve testing standards and project ITPs
– writing IRs, NCRs and punch lists that are clear, defensible and easy for engineering and procurement to act on
You can learn more and register here: Industrial Valve Inspection & Testing Training
At NTIA (Norwegian Technical Inspection Academy), we specialize in delivering world-class training programs in vendor inspection, quality surveillance, and technical compliance – specifically tailored for professionals in the oil, gas, and energy industries.
Copyright © 2025 by NTIA. All Rights Reserved.