Quick Definition & Key Difference
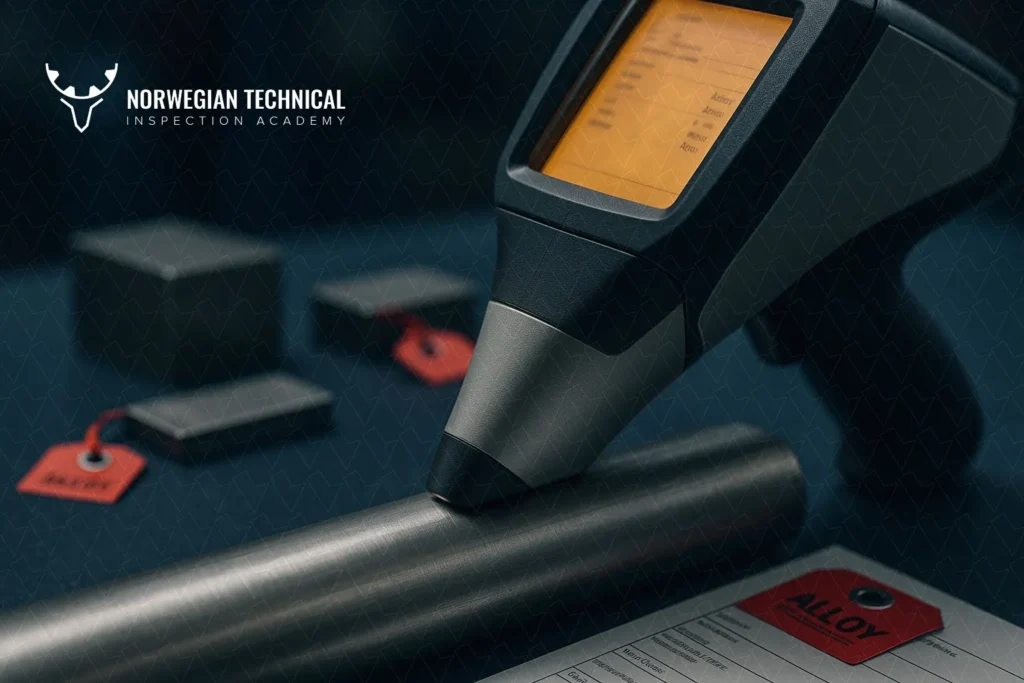
Positive Material Identification (PMI) is the process of verifying that a metallic material’s chemical composition matches the specified grade. Two main methods are used: XRF (X-Ray Fluorescence) — fast, portable, and non-destructive, but limited in detecting light elements like carbon; and OES (Optical Emission Spectroscopy) — accurate for detecting light elements (C, P, S) but semi-destructive and less portable.
Introduction: Why PMI Is Critical in Raw Material Inspection
In critical industries such as oil & gas, petrochemicals, and power generation, using the wrong material can lead to catastrophic failures. PMI testing ensures that delivered materials (pipes, fittings, forgings, valves) truly match the grade specified in the purchase order and design codes.
- A single wrong alloy can cause corrosion, leaks, or even explosions.
- Misidentified stainless steels (e.g., 304 vs 316) have led to costly shutdowns and safety incidents.
- Regulators and codes (API, ASME) now increasingly require PMI testing as part of QA/QC programs.
👉 For background on how material traceability works, see our guide on EN 10204 Certificate Types. And if you’re new to documentation, start with the Material Test Certificate (MTC) Interpretation Guide.
👉 In short: PMI is the last checkpoint of traceability before a material is released for fabrication or installation.
PMI Testing Methods
XRF (X-Ray Fluorescence)
Principle of Operation:
XRF works by bombarding the material with X-rays, which excite atoms in the sample. These atoms emit secondary (fluorescent) X-rays with energies unique to each element. The detector then interprets these energies to identify and quantify the alloy composition.
Advantages of XRF:
- Non-destructive – leaves no burn marks or sample loss.
- Portable – handheld XRF guns can be used directly on site (pipes, valves, welds).
- Fast results – analysis in less than 30 seconds.
- Good accuracy – reliable for mid-to-heavy alloying elements (Cr, Ni, Mo, W, Ti, etc.).
Limitations of XRF:
- Cannot detect light elements — XRF is unable to identify elements with an atomic number below 9 (e.g., C, B, Li, Be, N, O, F).
- Surface contamination sensitivity — results can be skewed by paint, rust, oil, or dirt, requiring proper surface preparation.
- Calibration dependency — incorrect or outdated calibration may lead to false grade identification or inaccurate alloy composition.
- Limited accuracy for thin layers — less reliable when analyzing coatings, weld overlays, claddings, or thin-walled materials where base and surface metals overlap.
👉 In practice: XRF is excellent for confirming alloy grades (e.g., 304 vs 316, Inconel vs Duplex) but not suitable for carbon content verification, which is often required by standards.
OES (Optical Emission Spectroscopy)
Principle of Operation:
OES works by applying a high-energy electrical spark to the material surface. The spark excites atoms, which emit light at characteristic wavelengths. A spectrometer analyzes these wavelengths, providing a precise chemical composition.
Advantages of OES:
- Accurate detection of light elements — can measure C, P, S, B, and N, which are critical for steel grades.
- High precision — better repeatability than XRF, especially for trace elements.
- Compliance with standards — often the method specified when full chemistry verification is required (e.g., ASME, API).
- Wide application — used for ferrous and non-ferrous alloys, welds, forgings, and castings.
Limitations of OES:
- Semi-destructive — requires grinding the surface to bare metal and leaves a small burn spot.
- Less portable — most OES units are bench-top; portable models exist but are heavier than XRF.
- Surface preparation required — oxide, scale, or coatings must be removed.
- Operator skill — requires more training and controlled conditions compared to XRF.
👉 In practice: OES is essential when carbon equivalence (CE), low-alloy steels, or weld chemistry must be confirmed.
Comparison: XRF vs OES
| Feature / Aspect |
XRF (X-Ray Fluorescence) |
OES (Optical Emission Spectroscopy) |
| Principle |
Fluorescent X-rays emitted after excitation |
Optical spectrum from spark discharge |
| Portability |
Highly portable (handheld units) |
Less portable; mainly bench-top, some portable units |
| Destructiveness |
Non-destructive (no marks) |
Semi-destructive (leaves burn spot) |
| Light Elements (C, P, S) |
Not detectable |
Detectable with high accuracy |
| Speed |
< 30 seconds per test |
1–2 minutes with prep time |
| Surface Prep |
Minimal (clean area only) |
Requires grinding/polishing to bare metal |
| Accuracy |
Good for alloying elements (Cr, Ni, Mo, W) |
Excellent, especially for low-level elements |
| Typical Use Cases |
On-site alloy verification, quick checks |
Full chemistry verification, compliance with standards |
| Common Standards |
API 578 (screening) |
API 578, ASME, ASTM (detailed chemistry) |
👉 Summary:
- XRF = Fast, portable, non-destructive → best for alloy grade confirmation.
- OES = Precise, detects carbon → required for full chemistry and standard compliance.
Documentation: PMI Reports & Traceability
One of the most overlooked — yet critical — aspects of PMI testing is proper documentation. A test is only as good as the record that proves it was done correctly and traceably.
What to Include in a PMI Report
A well-structured PMI report should capture at a minimum:
- Material details – heat number, batch number, item description (pipe, fitting, valve, forging).
- Location of test – exact weld, spool, or component tested.
- Method used – XRF or OES (including instrument model and calibration details).
- Results – chemical composition vs. specified grade.
- Acceptance criteria – reference to purchase order, standard (ASTM, API, ASME), or project specification.
- Operator details – name, signature, and qualification of inspector.
- Traceability link – correlation to EN 10204 MTCs and purchase order.
- Date & time – ensures chronological traceability in the QA/QC dossier.
Example – PMI Report Snapshot
| Field |
Example Entry |
| Item ID |
Pipe Spool #23 |
| Heat Number |
HN-845213 |
| Standard Grade |
ASTM A312 TP316L |
| Test Method |
OES (Spark Analyzer) |
| Key Results |
C: 0.021%, Cr: 17.3%, Ni: 10.2%, Mo: 2.1% |
| Acceptance Criteria |
As per ASTM A312 & PO-145 |
| Inspector |
J. Smith (Level II) |
| Date |
2025-09-16 |
Best Documentation Practices
- Always cross-check PMI results with the MTC supplied by the manufacturer.
- Use unique ID tags (barcodes, stamping) to connect each test to a component.
- Ensure reports are archived in the final dossier (along with IRs/NCRs).
- Avoid generic “Pass/Fail” — provide measured values for audit compliance.
👉 Bottom line: Without proper reporting, PMI loses its value in QA/QC and traceability.
Standard Requirements for PMI Testing
PMI is not just good practice — in many industries, it is a requirement enforced by international codes and standards. The main references are ASTM, API, and ASME.
ASTM E1476 — Standard Guide for PMI
- Provides terminology and general guidelines for Positive Material Identification.
- Defines PMI as the non-destructive or semi-destructive analysis of metallic alloys to verify compliance with material specifications.
- Emphasizes traceability and proper record-keeping.
- Not prescriptive on method (XRF or OES) — leaves choice to project specs.
API 578 — Material Verification Program
- Widely used in the oil, gas, and petrochemical industries.
- Requires owners and operators to establish a Material Verification Program (MVP).
- Specifies when 100% PMI or sampling PMI is required (e.g., critical alloy piping circuits).
- Accepts both XRF and OES, but mandates OES for carbon and light elements.
- Links PMI directly to ASME B31.3 and piping integrity.
ASME Codes (e.g., B31.3, Section VIII)
- ASME B31.3 (Process Piping) references PMI as part of quality control and inspection.
- Requires compliance with project specifications and traceable documentation.
- Often combined with API 578 in owner/operator requirements.
- ASME Section VIII (Pressure Vessels) may call for PMI on welds, forgings, and nozzles in critical services.
👉 Summary:
- ASTM E1476 = definitions & general guide.
- API 578 = mandatory Material Verification Program for refineries and petrochemicals.
- ASME B31.3 & VIII = enforces PMI as part of piping & vessel integrity.
📌 External References:
Best Practices & Common Errors in PMI
Best Practices
- Calibration first – always check the analyzer against certified reference standards before daily use.
- Surface preparation – remove paint, oxide scale, rust, or coating before testing (especially for OES).
- Mark the test point – physically mark or record the location tested for traceability.
- Cross-check results – verify PMI readings against the MTC (EN 10204 3.1/3.2).
- Document immediately – fill the PMI report on the spot; avoid relying on memory or later transcription.
- Qualified personnel – ensure inspectors are trained in both the method and the documentation process.
⚠️ Common Errors to Avoid
- Relying only on XRF for alloys where carbon content matters (risk: wrong grade acceptance).
- Skipping surface prep leads to false positives/negatives.
- Not saving raw data (audit trail lost if only “Pass/Fail” is recorded).
- Ignoring environmental effects (dust, vibration, and high heat can skew results).
- Poor tagging – mixing test reports with the wrong component IDs.
👉 Remember: A PMI test without traceability is as good as no test at all.
Related Guides
- 📌 EN 10204 Certificate Types Explained
- 📌 Material Test Certificate (MTC) Interpretation Guide
👉 These guides connect directly with PMI, since PMI results must be cross-checked with MTCs to ensure full traceability in the vendor dossier.
Master PMI Testing & Raw Material Inspection with NTIA
Join our Raw Material Inspection Course to learn:
- ✅ How to perform PMI with XRF & OES step by step
- ✅ Best practices for documentation & traceability
- ✅ Case studies from real energy projects
- ✅ Access to sample PMI report templates
- ✅ Certification trusted by EPCs and operators
👉 Enroll today and receive free downloadable PMI templates + case studies.
Frequently Asked Questions (FAQ)
- What is PMI testing?
Positive Material Identification (PMI) is the process of verifying the chemical composition of metallic materials to ensure they match the specified grade.
- What is the difference between XRF and OES?
- XRF (X-Ray Fluorescence): Portable, non-destructive, fast, but cannot detect light elements like carbon.
- OES (Optical Emission Spectroscopy): Semi-destructive, requires surface prep, but accurately measures carbon and other light elements.
- Which standards govern PMI testing?
Key standards include ASTM E1476, API 578, and ASME B31.3 / Section VIII.
- Can XRF detect carbon?
No. XRF cannot measure light elements such as C, B, or Li. For carbon content and carbon equivalence (CE), OES must be used.
- How should PMI reports be documented?
Reports should include: item ID, heat number, test method, results, acceptance criteria, operator details, and traceability to the MTC.
- Is PMI testing mandatory?
Yes, in many cases. API 578 and client specifications often require PMI for critical alloy piping circuits, stainless steels, and high-alloy materials.
Meta Title: PMI Testing (XRF vs OES): Methods, Standards & Reporting
Meta Description: Learn PMI testing with XRF & OES: principles, API/ASME standards, report templates, and best practices. Ensure raw material traceability & compliance.

