![Visual & Dimensional Inspection Guide [Step-by-Step + Checklist]](https://ntia.no/wp-content/uploads/2025/10/Group-14-1024x683.webp)
Visual and dimensional inspection is the first barrier against nonconforming raw materials entering production. This guide gives you step-by-step methods, a 10-point checklist, tolerance examples, and AQL sampling explained—all aligned with international standards and NTIA’s training approach.
📥 Download free [Visual & Dimensional Checklist (PDF)] to follow along.
A non-destructive examination of a material’s surfaces, edges, markings, and finish to detect visible defects or inconsistencies.
A measurement process that compares a material’s critical dimensions against drawings, specifications, or tolerance limits using calibrated tools.
Before lifting a caliper, confirm you’re inspecting the right material.
Always match the purchase order (PO), project spec, and delivery note to delivered items. Confirm:
For fundamentals, see [Vendor Inspection basics] (W1.1).
The Material Test Certificate (MTC) is the anchor of receiving inspection. Check if the certificate is valid and signed. According to [EN 10204 3.1 vs 3.2] (W1.3):
Use the [MTC Interpretation Guide + Checklist] (W1.5) to confirm:
The heat number must be visible on the material and match the MTC. This ensures traceability across certificates, inspection, and the final dossier.
Set up the inspection area in a clean, dry, and well-lit environment to ensure accuracy and safety.
Select and calibrate tools based on the tolerance requirements of the component or drawing.
Typical usage:
✅ Note: All measurement tools shall be within valid calibration date and verified before use.
For threads or slots, use Go/No-Go gauges. Always confirm gauges are in calibration. Keep a Gauge Calibration Log (Excel) for audits.
📥 Download: [Visual & Dimensional Checklist (PDF)]
Inspect all visible surfaces and edges for signs of damage or deterioration.
Check for:
Acceptance Criteria:
✅ Accept: Clean surfaces with only minor cosmetic scratches that do not affect function or coating adhesion.
❌ Reject: Heavy corrosion, visible cracks, deep dents, or sharp burrs that compromise safety, sealing, or coating performance.
Note:
For any metal loss, evaluate according to the applicable clause in the project specification or referenced standard (e.g., API, ASME, ISO).
Verify that all required identifications — including material grade, heat number, and supplier ID — are clearly legible, durable, and consistent with the Material Test Certificate (MTC).
✅ Accept: Markings are complete, readable, and match the MTC data.
❌ Reject / Hold: Any missing, illegible, or inconsistent marking shall result in a Hold or issuance of an NCR (Non-Conformance Report).
Inspect coating and packaging condition prior to use or installation.
Check for:
📸 Action: Photograph the item and its packaging before unpacking for traceability and to document any visible damage.
Use the approved Defect Photo Guide (PDF) as reference for image clarity and framing.
Review drawings/specs for nominal values and tolerance limits.
Take ≥3 readings per critical dimension. Record directly in the Receiving Inspection Form (Excel).
| Dimension Checked | Nominal | Tolerance | Example | Status |
| Pipe OD | 114.3 mm | ±0.5 mm | 114.1 | Accept |
| Plate Thickness | 12 mm | ±0.3 mm | 11.7 | NCR |
| Length | 6 m | ±1% (±60 mm) | 6.02 m | Accept |
| Thread Pitch | 2″ BSPT | Go=Pass, No-Go=Stop | Stop | Conditional |
Inspection is tied to statistical acceptance, not gut feeling.
See [Receiving Inspection Sampling Plans (AQL)] (W3.5) for full details.
Lot 500 pcs, Level II → Code J → Sample 80 pcs.
Record PO, MTC ref, heat no., readings, sampling, photos.
Inspection → Meets all criteria → ACCEPT
→ Minor issues, rework → CONDITIONAL
→ Critical fail / traceability issue → REJECT (NCR)
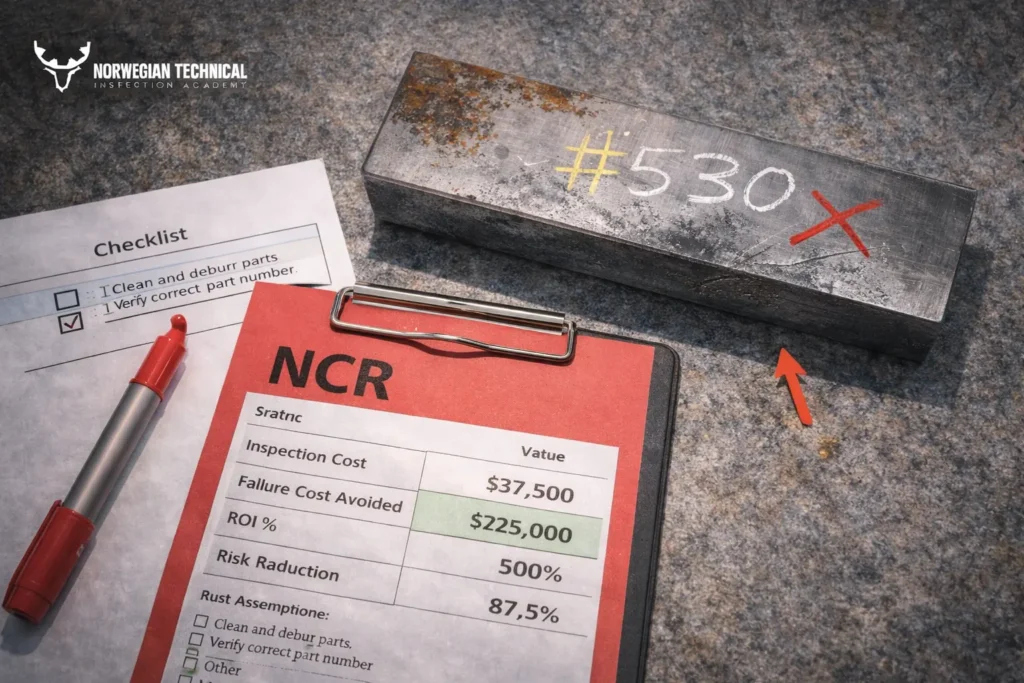
For failures, raise an NCR with evidence. See [Vendor Inspection Reporting: IR/NCR/Final Dossier] (W2.1).
Scenario: 100 pipes, OD 114.3 mm, wall thickness 12 mm.
Turn your inspection skills into career assets with NTIA’s eLearning Raw Material Inspection Course.
✔️ 100% online, learn at your own pace
✔️ Includes templates, defect photo guides, and real case studies
✔️ Certificate trusted by EPC contractors
👉 [Enroll in Raw Course today] and start learning anytime, anywhere.
At NTIA (Norwegian Technical Inspection Academy), we specialize in delivering world-class training programs in vendor inspection, quality surveillance, and technical compliance – specifically tailored for professionals in the oil, gas, and energy industries.
Copyright © 2025 by NTIA. All Rights Reserved.
One Response
Comprehensive visual and dimensional inspection guide with checklists ensures quality control precision, much like Google Cloud Platform streamlines student workflows