You can have a beautiful test bench and still get PSV work wrong.
If you do not understand what to check, how to test and what to record, your safety valves become a box-ticking exercise instead of real overpressure protection.
This quick guide gives a practical, inspector-focused overview of:
It is written for:
The approach is aligned with API RP 576 (inspection of pressure-relieving devices) and API Standard 527 (seat tightness of pressure relief valves).
NTIA uses the same logic in its Valve Inspection training and in articles such as “Hydrostatic vs Seat Leak Tests: Procedures & Acceptance” , “API 598 vs ISO 5208: Valve Testing Acceptance” .
A pressure safety valve (PSV) is a type of pressure-relief valve that opens automatically at a set pressure to protect equipment from overpressure. It is commonly used on compressible fluids (steam, gas) and is designed to “pop” fully open when the set pressure is reached.
Very simply:
If a PSV fails to open at the correct pressure, opens too late, or cannot reseat or seal properly, the consequences can be severe: equipment damage, loss of containment and safety incidents. That is why standards and insurers care so much about PSV inspection and testing.
For the bigger picture of how PSV inspection fits into overall vendor work, see “What Is Vendor Inspection? Roles & Responsibilities”
Before you touch a test bench, you must be fluent in a few terms used in ASME and API documents:
Set pressure
The inlet pressure at which the PSV is adjusted to start opening under service conditions.
Overpressure
The pressure increases above the set pressure, expressed as a percentage of set pressure, during discharge.
Accumulation
The pressure increases above the maximum allowable working pressure (MAWP) of the equipment during relief – often limited by codes (for example 10% or 16%, depending on the case).
Blowdown
The difference between set pressure and reseating pressure, usually expressed as a percentage of set pressure. A safety valve “pops” at set pressure, lifts, and then recloses at a lower pressure; the gap between these is blowdown.
These parameters are crucial when you judge whether a PSV behaves correctly on the test stand.
Even if the set pressure is correct, a PSV that leaks badly at normal operating pressure is a problem.
API Standard 527 defines seat tightness tests and gives leakage acceptance criteria for metal-seated and soft-seated pressure relief valves over a wide pressure range. Tests can be performed with air or nitrogen, steam or water, depending on design and specification.
Key points:
You do not need to memorise every number, but you must know that:
Seat tightness is not a guess – it is tested using specific pressure levels and acceptance criteria from API 527 or client specs.
API Recommended Practice 576 covers inspection and testing practices for pressure-relieving devices such as PSVs, safety relief valves, and rupture disks. It discusses:
For inspectors, API 576 is the main reference on how to approach PSV inspection and test, not just what numbers to meet.
API 527 focuses specifically on seat tightness:
Whenever you talk about “PSV leakage OK / not OK”, you should be able to point to a standard like API 527 or a client-specified leakage class.
The ASME Boiler & Pressure Vessel Code (BPVC), particularly Sections I and VIII, defines overpressure protection requirements for boilers and pressure vessels, including the need for suitably sized and set safety/relief valves.
For a valve inspector, you usually do not design the PSV system; you verify that:
For more background on valve testing acceptance in general, see NTIA’s “API 598 vs ISO 5208: Valve Testing Acceptance” and “Hydrostatic vs Seat Leak Tests: Procedures & Acceptance” .
Think of PSV inspection as a workflow, not a single bench test.
Before removal:
Use this stage to catch obvious installation issues and discrepancies between the nameplate and the equipment’s design data.
NTIA’s “Valve Nameplates, MTRs & Material Identification” is very relevant when checking nameplates, ratings and materials.
If the PSV must be removed for shop testing or overhaul:
In the workshop:
Clean and repair/lap seating surfaces if within limits
Replace worn or damaged parts with correct spares
Articles like “Common Vendor Nonconformities & Fixes” and “Top 20 Valve Failure Modes & Root Causes” give good examples of the kind of damage you may find.
After reassembly and correct adjustment, the valve goes on a test stand:
The test block or test bench typically includes calibrated gauges, manifolds and controls; API 576 describes such equipment and its use.
Once tests are acceptable:
The inspection record and test report will later feed into your vendor dossier or plant equipment history; NTIA’s “Vendor Inspection Reporting: IR/NCR/Final Dossier” covers this in more detail.
On the bench:
Water is commonly used for set pressure verification, but gas testing may be needed when service conditions or leakage sensitivity require it.
Seat tightness tests are usually performed close to, but below, set pressure:
API 527 provides specific leakage limits for:
Seat tightness is where objectivity is critical. Your readings must be clear enough that an auditor or client can reproduce your acceptance decision.
For general concepts of hydrostatic vs seat leak testing, see NTIA’s article “Hydrostatic vs Seat Leak Tests: Procedures & Acceptance” . For broader valve test acceptance, “API 598 vs ISO 5208: Valve Testing Acceptance” is a good companion.
How often should PSVs be inspected and tested?
API 576 does not give a single fixed interval. Instead, it lists factors that should influence test frequency, such as:
Typical industry practice:
Whatever approach you use, you should be able to justify it and support it with data (NCRs, failures, process history), similar to the KPI logic described in “SQS KPIs That Matter (Vendor Scorecards)” .
A PSV test without proper documentation is almost useless in audits.
At minimum, your report should include:
These records then feed into:
NTIA’s “Write a Valve Inspection Report (With Sample)” gives a report structure that works well for PSVs too.
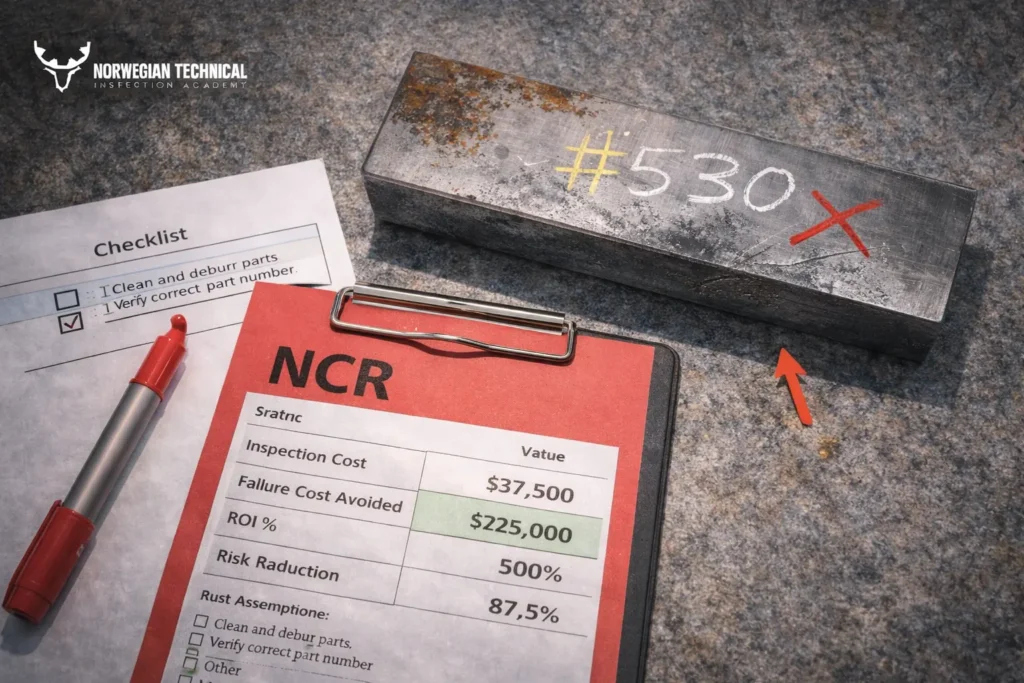
Typical findings listed in API 576, PSV maintenance guides and plant experience include:
When you see these, avoid “clean it and hope” thinking. Ask:
Use the “Top 20 Valve Failure Modes & Root Causes” mindset: link each defect to a root cause and, if appropriate, capture it in an NCR so that design, process or maintenance can address it.
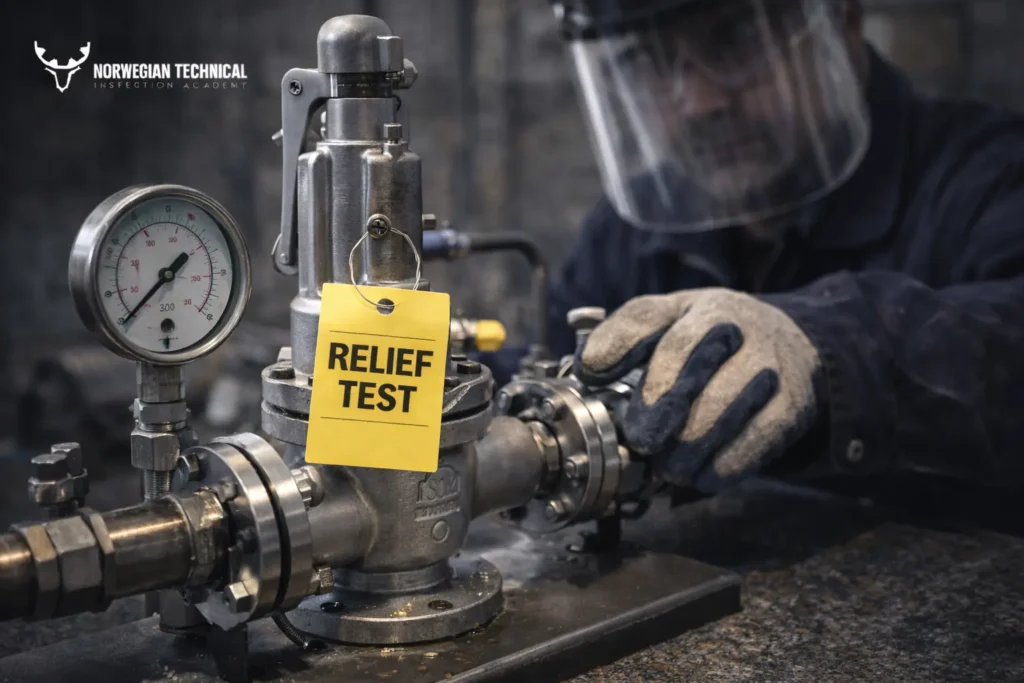
Pressure-testing and PSV work involve stored energy and potential for violent failure. Safety valve inspection guides and pressure-testing best-practice documents all stress basic precautions:
Do:
Don’t:
For a broader discussion, see NTIA’s “Pressure Testing Safety: Do’s & Don’ts”
Good PSV inspection is safe inspection. You do not get credit for a “good test” if someone gets hurt in the process.
Q1. What is the difference between a PSV and a PRV?
A PSV (safety valve) is usually associated with compressible fluids (steam, gas) and is designed to open fully and quickly (pop action) at its set pressure. A relief valve often opens more gradually and is used more on liquids. There are also “safety relief valves” that can operate in both ways depending on service.
Q2. How do you test PSV set pressure?
Mount the valve correctly on a test stand, apply the specified test medium (water, air, nitrogen, steam) and increase inlet pressure slowly until the valve lifts in its characteristic way. Record the pressure at which it opens (set pressure) and compare as-found/as-left values with requirements and tolerances in API 576, project specs or regulations.
Q3. How do you test PSV seat tightness?
Seat tightness is typically checked at a pressure below set pressure (often around 90% of set) using an appropriate medium and method. API Standard 527 gives test procedures and allowable leakage rates for different seat types and pressures; you compare observed leakage (for example, bubbles per minute) with those limits to decide pass/fail.
Q4. How often should safety valves be inspected and tested?
There is no universal interval. API 576 recommends setting intervals based on service severity, valve history, risk and regulatory requirements. Many plants adopt 3–5-year cycles for many services, with shorter intervals for severe conditions and longer for benign services with good performance history. The important thing is to justify and document your strategy.
Q5. Can PSV testing be done in-situ?
Yes, some methods allow “in-situ” or online testing of PSVs while they remain installed, using devices that simulate lift or measure response without full disassembly. However, these methods have limitations and may not fully replace periodic removal, overhaul and bench testing, especially where regulations or criticality demand more thorough checks.
Q6. Which standards should my PSV testing comply with?
At minimum, you should align with your applicable code of construction (often ASME BPVC), API RP 576 for inspection and testing practices, API 527 for seat tightness criteria, and any additional client or regulatory requirements. Your company procedures should integrate these into a coherent testing method.
If you:
…then you know this is not just about “pulling the lever and seeing if it pops”.
You need:
NTIA’s online Valve Inspection Training goes deeper into real PSV/PRV scenarios:
If this quick guide feels like your daily work, that training is probably your next logical step – so next time you stand in front of a PSV test bench, you know exactly what you are doing, why it matters, and how to prove it.
Explore NTIA’s Industrial Valve Inspection & Testing Training
At NTIA (Norwegian Technical Inspection Academy), we specialize in delivering world-class training programs in vendor inspection, quality surveillance, and technical compliance – specifically tailored for professionals in the oil, gas, and energy industries.
Copyright © 2025 by NTIA. All Rights Reserved.