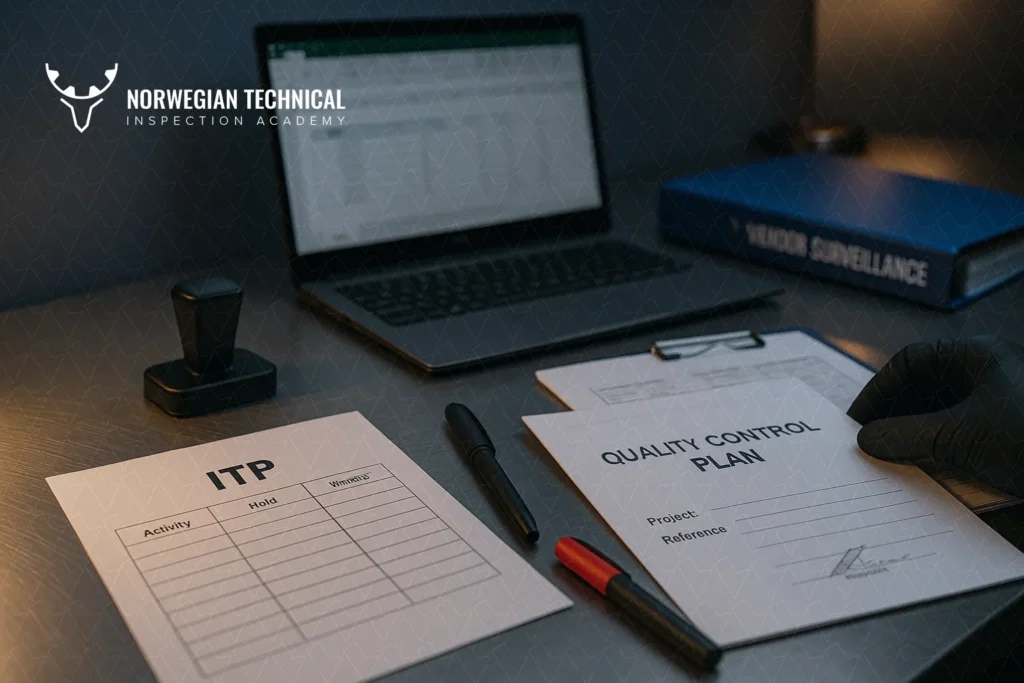

In vendor inspection, two documents define success: the Inspection & Test Plan (ITP) and the Quality Control Plan (QCP). Together, they ensure suppliers follow the right processes and provide the evidence clients need for acceptance. Without them, projects risk costly delays, rejected materials, and audit findings. This guide shows you how to build ITPs and QCPs that are practical, auditable, and fully aligned with client and code requirements.
An ITP is not just a checklist — it is a binding document between vendor and client that ensures inspections are performed against the right codes and acceptance criteria. For example, a valve manufacturer may list “Hydrostatic test → API 598 → Hold Point for Client.” Without this clarity, disputes are inevitable.
A QCP, following ISO 10005 guidelines, sets the process framework: calibration requirements, operator qualifications, welding procedures, and material traceability. It answers the “how” question: how will the vendor control and monitor quality before defects occur? In EPC projects, it also demonstrates compliance with ISO 9001 QMS and industry-specific standards such as ISO/TS 29001.
Think of them as two complementary tools:
Together, they provide clients with both confidence in the process and proof of conformance. (See [What Is Vendor Inspection?] (W1.1))
Before drafting, you need the right foundation.
Every plan must be based on:
Without these, ITP/QCPs become generic templates that clients often reject. (See [Vendor Inspection ITP Template (Excel) + How to Use] (W1.4))
Witness and Hold points should be risk-driven:
This ensures that resources focus on what matters most rather than spreading thin across low-value checks.
No ITP or QCP is valid without client approval.
To execute hold/witness coverage with independent presence at the vendor, request
third-party presence for hold/witness points
Map out manufacturing from raw materials → fabrication → assembly → testing → packing. Example: In a pump project, steps may include casting inspection, machining, balancing, hydrotest, painting, and packing.
Specify inspections at each step:
Avoid vague entries like “check quality.” Instead, write “Measure impeller diameter ±0.2 mm.”
Every activity needs a reference:
This eliminates disputes and strengthens defensibility during audits.
Use W/H symbols and RACI roles. Example:
Every row must specify deliverables: IRs, test reports, photos, calibration certificates. These flow into the final dossier.
Include a revision log and client sign-off section. Without it, outdated ITPs circulate — a major audit non-conformance.
📌 Download: ITP + QCP Starter Kit (Excel/Word)
A vendor’s ITP for a heat exchanger might look like this:
📌 Resource: [Master Inspection Templates Pack (ZIP): ITP, Checklists, Forms]
| Step | Activity | W/H | Responsibility | Evidence |
| 1 | WPS Qualification | H | Vendor + Client | WPS, PQR, WPQ |
| 2 | Dimensional Check | W | Vendor + Inspector | IR |
| 3 | Hydrotest | H | Vendor + Client | Hydro Report, Photos |
| 4 | Coating DFT | W | Vendor | DFT Report |
| 5 | Packing | – | Vendor | Packing List |
This matrix clarifies who attends which inspection, when work can proceed, and what record is mandatory.
A Quality Control Plan (QCP) is more than a filler document—it is the vendor’s quality backbone.
Per ISO 10005, a QCP should cover:
Process Controls → WPS approval, welder training.
Inspections → Visual weld check, RT film review.
Mixing them confuses responsibilities. Keeping them distinct makes audits smoother.
Think of the QCP as the engine and the ITP as the dashboard. QCP ensures processes run right; ITP proves outcomes. Together, they satisfy ISO 9001 supplier control.
Inspection is meaningless without clear documentation. ITPs and QCPs must feed into reporting systems that clients recognize.
Every inspection/test creates an IR (Inspection Report) or checklist. These reports document what was checked, the acceptance reference, and the outcome. Without IRs, it’s impossible to prove compliance.
If an activity fails the acceptance criteria, an NCR must be issued. NCRs trigger corrective actions, re-inspections, and preventive lessons. This closes the quality loop and ensures transparency.
Dossiers compile everything: ITPs, IRs, NCRs, certificates, revisions, calibration records. Missing records = client rejection.
📌 Download: Inspection Dossier Index (Excel) + Document Register (Excel)
📌 See: [Vendor Inspection Reporting: IR/NCR/Final Dossier]
Track number, date, description, and approval. Example: Rev.2 — Added coating inspection after NCR.
Weak revision control = audit finding.
Imagine a vendor fabricating a pressure vessel nozzle weld.
👉 This scenario shows how risk drives witness/hold logic, how NCRs are handled, and why ITP revision control is essential.
Even experienced QA/QC teams fall into traps. Common mistakes include:
✅ Avoiding these pitfalls ensures ITP/QCPs are practical, auditable, and trusted by clients.
Q1. What is the main difference between an ITP and a QCP?
An ITP lists inspection/test activities with acceptance criteria, while a QCP describes how processes are controlled to prevent defects.
Q2. Who prepares the ITP for vendor inspection?
The vendor drafts the ITP, but it must be reviewed and approved by the client/inspector before manufacturing starts.
Q3. What are Witness and Hold points in an ITP?
A Witness Point means the client is invited to attend, but work may proceed if absent. A Hold Point means work cannot continue without client approval.
Q4. When should an ITP or QCP be revised?
Revisions are needed when specifications change, new risks emerge, or NCRs/lessons learned require updated controls.
Q5. How does ISO 10005 relate to QCPs?
ISO 10005 provides guidelines for preparing quality plans (QCPs), ensuring they cover scope, processes, responsibilities, and resources.
Q6. What documents go into the final inspection dossier?
The dossier includes ITPs, IRs, NCRs, certificates, calibration records, approvals, and revision logs, indexed for completeness.
Q7. Can I use a template for building ITPs?
Yes. Standardized templates help ensure consistency and compliance, but they must be tailored to each project’s scope and risks.
📥 Top Micro-CTA: ITP + QCP Starter Kit (Excel/Word)
📥 Docs Section: Witness/Hold Matrix, Dossier Index, Document Register
📥 Reporting: IR/NCR Forms (Vendor Inspection Reporting: IR/NCR/Final Dossier]
Study online, at your own pace — with real inspection documents, practice scenarios, and certification trusted by EPCs.
At NTIA (Norwegian Technical Inspection Academy), we specialize in delivering world-class training programs in vendor inspection, quality surveillance, and technical compliance – specifically tailored for professionals in the oil, gas, and energy industries.
Copyright © 2025 by NTIA. All Rights Reserved.